Bootstrapping Your Fleet
Creating a Kubernetes fleet in Streamtime is the foundational step for deploying and managing Kafka clusters. A Kubernetes fleet is a managed group of Kubernetes clusters provisioned on your chosen cloud provider (AWS, GCP, OCI, Azure) or using BYOK (Bring Your Own Kubernetes). 
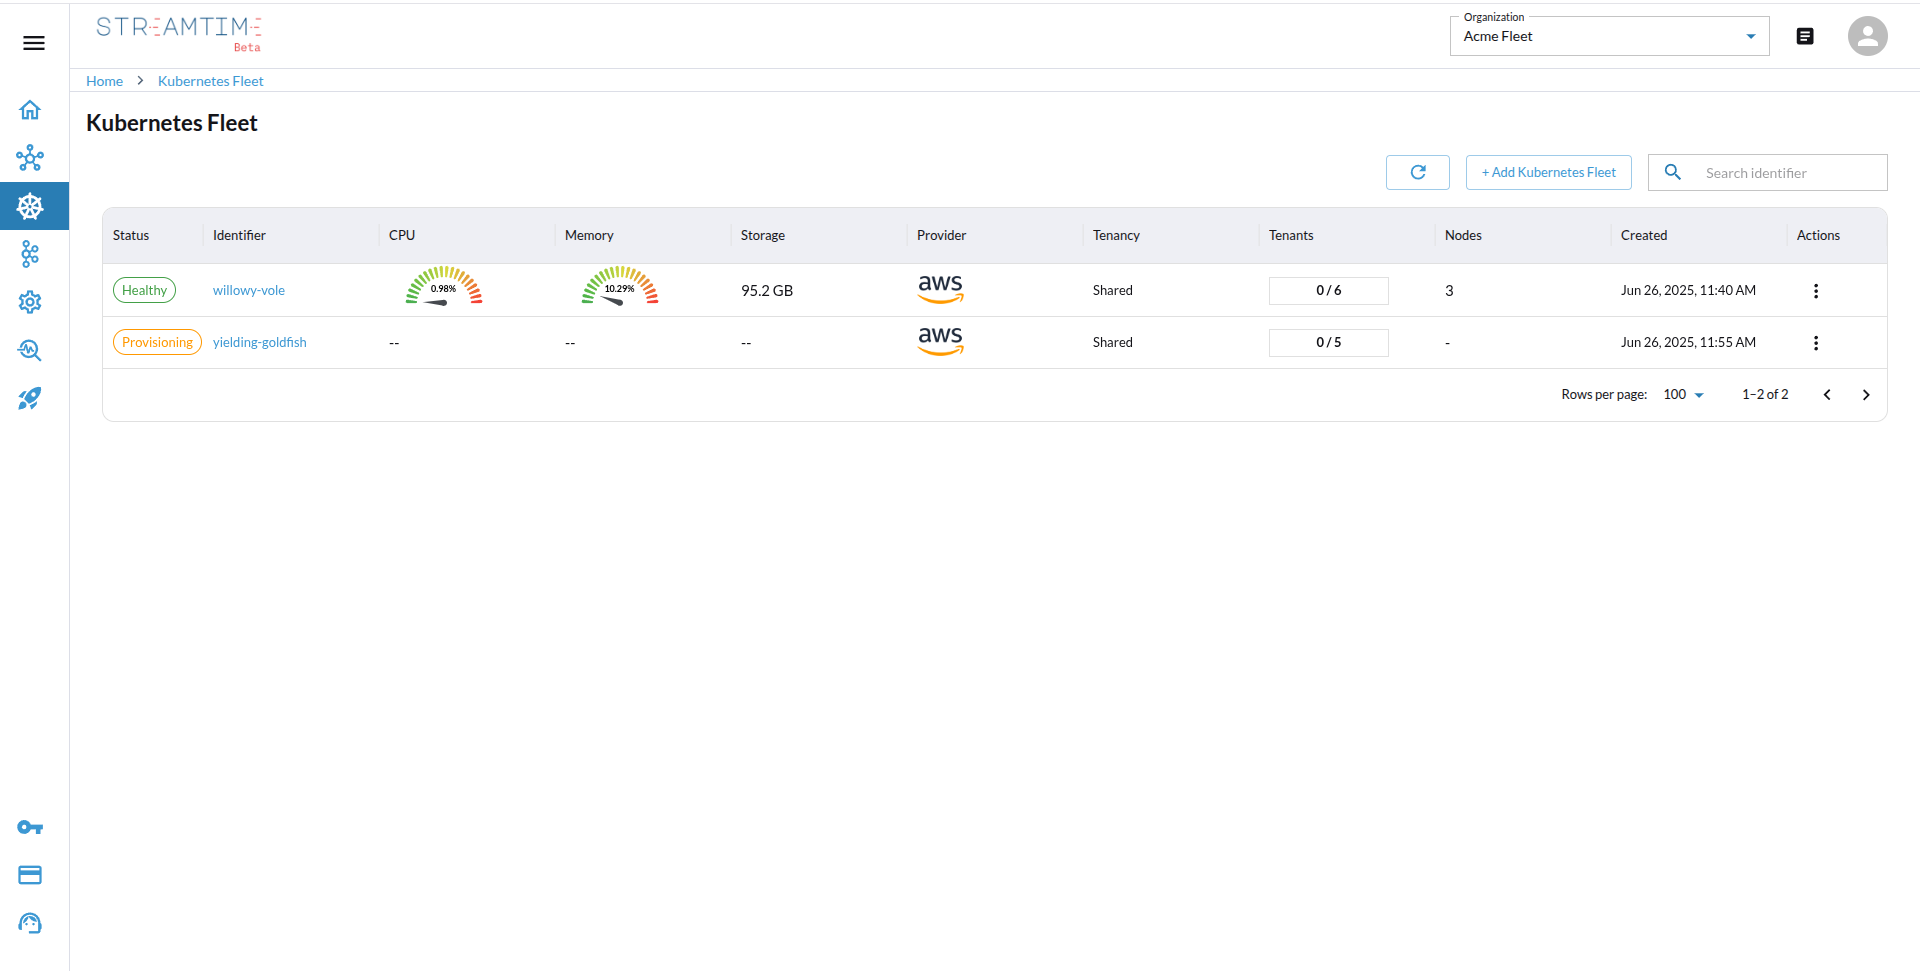
Overview
- Select Bootstrap Provider
- Start by clicking “Create Kubernetes Fleet” in the Streamtime UI.
- Choose your bootstrap provider: AWS, GCP, OCI, Azure, or BYOK.
- Configure Tenancy & Sizing
- Select the tenancy model:
shared,isolated, ordedicated. - Define your base domain, set the maximum tenancy (number of Kafka clusters per fleet), and specify the maximum Kafka units (throughput capacity).
- Choose the appropriate node size based on your workload (e.g., 1 Kafka unit = 20 MBps, recommended node: 4 vCPU / 16 GB RAM).
- Select the tenancy model:
- Placement Configuration
- Cloud Provider: Select the cloud provider for your Kubernetes clusters (e.g., AWS, GCP).
- Region: Choose the region where you want to deploy your Kubernetes fleet.
For BYOK fleets, you can optionally specify provider and region details for placement metadata to optimize for latency, compliance, or cost.
- Advanced Configuration
- AWS: Select an existing VPC ID or create a new VPC, choose the instance type for nodes.
- GCP: Specify the network and node machine type.
- OCI: Provide the VCN ID or create a new one, set the node shape, optionally specify a KMS Key ID, and set
cluster_public(default: false). - Azure: Enter the resource group, vnet name, subnet name, Kubernetes version, network plugin, agent VM size, and node count.
- BYOK: simply upload your Kubernetes
kubeconfigfile in this step.
- Deploy and Validate
- Click deploy. Streamtime will provision and configure the Kubernetes fleet.
- Once deployed, the fleet status will show as “Healthy” and is ready for Kafka cluster deployments.